![]()
![]()
![]()
![]()
The Monitoring Accounts are the user accounts who have administrative rights to access the Windows Server. You can configure Monitoring Accounts for users for a specific Instance or Department.
To configure Monitoring Account:
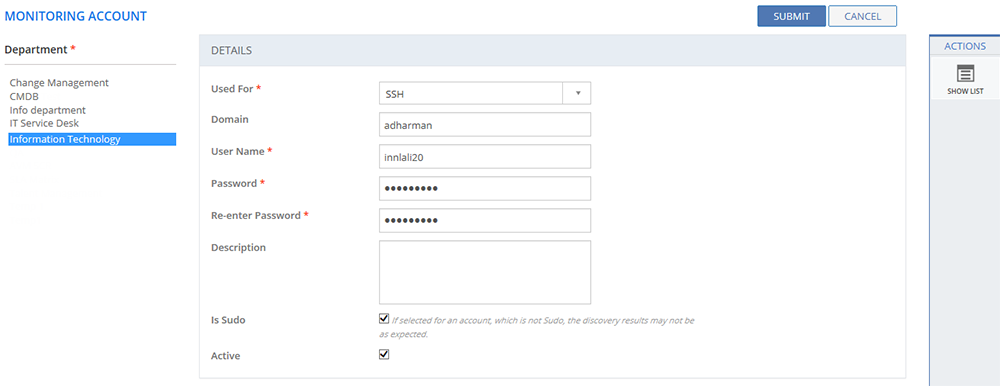
Figure: MONITORING ACCOUNT page
The following table describes the fields on the MONITORING ACCOUNT page:
| Fields | Description |
| DETAILS | |
| Used For | Select the protocol used for monitoring. |
| Domain | Type in the domain name to which the user belongs. |
| User Name | Type in the user name of the User to whom you want to provide the administrative rights to access the Windows server machines. |
| Password | Type in the password. |
| Re-enter Password | Re-enter the password. |
| Description | Type in a brief description about the user or the purpose of adding Monitoring Account or any warning message. For example, you can create a user to access data from a group of critical servers, you can add a message like “Do not delete this user name”. |
| Is Sudo | This check box should be selected only for the Sudo accounts. If selected for an account, which is not Sudo, the discovery results may not be as expected. |
| Active | Indicates the status set for the Monitoring Account.
|
This section explains all the icons displayed on the ACTIONS panel of the MONITORING ACCOUNT page.
Filters
Click the Filters icon to select a value for the Used For list. Click SUBMIT.
Figure: FILTERS pop-up page
SHOW LIST
Click SHOW LIST to display the LIST table showing all the Monitoring Accounts configured in the SUMMIT application for the selected Department.
Figure: MONITORING ACCOUNT page: List of monitoring accounts
To edit a Monitoring Account configuration, click User Name. Make appropriate changes and click SUBMIT.
| Note: When the Monitoring Accounts are displayed under the LIST table, the ADD NEW action is displayed on the ACTIONS panel. Click ADD NEW to configure a new Monitoring Account. |
HISTORY
Click the HISTORY icon to view the change history details of the Monitoring Account.